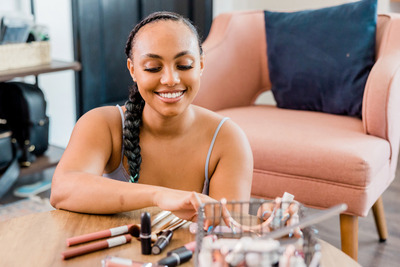
Are you holding onto makeup products that you haven’t touched in months (or years)? If your beauty drawer is overflowing with expired products, wrong shades, or items that just don’t work for you anymore, maybe it’s time for a serious declutter! A regular makeup purge not only helps you stay organized but also ensures that you’re using products that are safe and effective.
In this guide, we’ll walk through a step-by-step process to declutter your makeup collection under natural daylight, swatch like a pro, and give your products a thorough clean. Ready for a fresh start? Let’s go!
Step 1: Take It All Out and Categorize
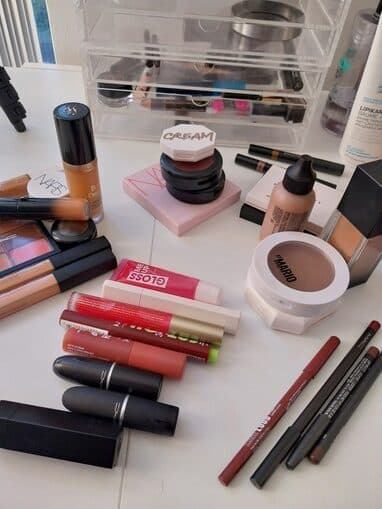
The first step is simple: lay everything out. Take your makeup from drawers, bags, and boxes and place it all on a flat surface where you can see everything clearly. Natural daylight is best for this process, as it helps you get an honest look at your products. Now, sort everything into categories such as:
- Lipsticks and glosses
- Foundations, BB creams, and concealers
- Powders and blushes
- Eyeshadows and palettes
- Mascara and eyeliners
- Brushes and tools
This allows you to assess how much you have in each category and makes the decluttering process much more manageable. Be honest with yourself: do you need 10 similar shades of nude lipstick, or is it time to downsize?
Step 2: Check Expiry Dates and Condition
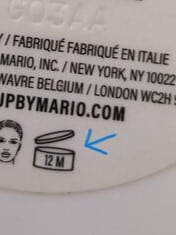
The next step is all about hygiene. Makeup can expire, and using old products can cause irritation or even infections. Here’s how to check for expired products:
- Look for the PAO (Period After Opening) symbol on the packaging, which looks like an open jar with a number inside. This tells you when a brand recommends throwing the product away after its primary container has been opened (e.g., “12M” means 12 months).
- Lipsticks and glosses can dry out or start to smell off when they’ve gone bad.
- Powders and eyeshadows can get hard or chalky over time.
- Mascara and eyeliners are especially important to replace regularly, usually within 3–6 months. Don’t risk it with eye products — expired mascara or eyeliner can lead to eye infections.

Expired products might not just look or smell different; they can lose their original color, texture, and effectiveness. Don’t be afraid to toss them! It’s better to declutter now than risk using something that no longer performs well.
Step 3: Swatch and Be Honest with Yourself
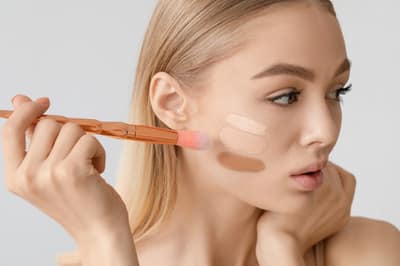
Now comes the serious cut — swatching! Especially with foundations, blushes, lipsticks, and eyeshadows, it’s important to swatch the colors and textures to see if they still work for you. Here’s how to make the most of this step:
- Natural daylight is key: Swatch the products on your skin in bright, natural light. This will give you the truest sense of how the colors look.
- Be brutally honest: If a foundation no longer matches your skin tone, or if you never wear a particular eyeshadow, now’s the time to part ways. I’m all for creativity with makeup, but realistically, do you really have time for blending ‘this with that’ to get the result you want? Sometimes, we hold onto products just because they were expensive or trendy — but if you’re not using them, they’re just taking up space.

Ask yourself:
- “Is this still my color?”
- “Do I even wear this finish anymore?”
- “Does it perform well on my skin type?”
If the answer is “no,” it’s time to let go!
Step 4: Clean and Sanitize Your Products

Once you’ve sorted through what stays and what goes, it’s time to clean the products you’re keeping. Over time, makeup containers can get grimy with fingerprints, product residue, and germs. Cleaning your products not only makes them look better but also keeps them more hygienic. Here’s how to do it:
- Use alcohol: Spray a bit of rubbing alcohol on a cotton pad and wipe down the outside of containers like lipsticks, compacts, and palettes. Alcohol kills germs and gives your products a clean, fresh feel.
- Tissues for powders: Gently wipe the surface of powder products (like eyeshadows, blushes, and pressed powders) with a tissue. This helps remove any top-layer buildup.
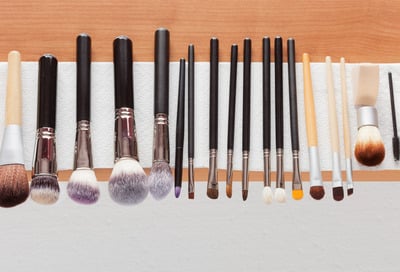
Brushes and tools: Don’t forget your makeup brushes! Give them a thorough wash with a gentle soap or brush cleanser. Clean brushes not only apply makeup better but also help prevent breakouts.
Step 5: Organize What’s Left
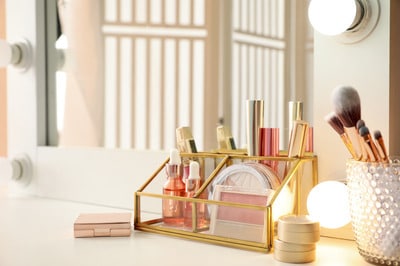
With your decluttered and clean collection, it’s time to organize. Here are a few tips to make your new setup as functional and beautiful as possible:
- Group similar items together: Store lipsticks in one section, face products in another, etc. This makes your routine quicker and more streamlined.
- Use clear containers or drawer dividers: This way, you can easily see what you have and access your products without creating more clutter.
- Prioritize what you use most: Keep your daily go-to products front and center for easy access, while storing special occasion items toward the back.
Now your makeup collection is decluttered, sanitized, and organized. It’s like a fresh start every morning!
Your Fresh, Decluttered Beauty Routine
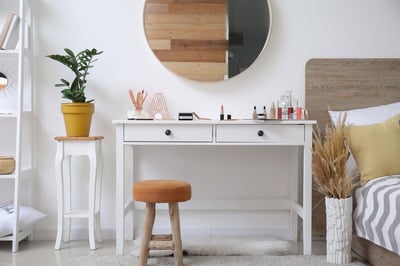
Decluttering your makeup collection isn’t just about getting rid of old products — it’s about creating a more organized, stress-free beauty routine that works for you. With fewer products that you actually love and use, you’ll spend less time searching for what you need and more time enjoying the makeup that makes you feel your best.
Ready to Declutter?
Now that you’ve seen how easy and refreshing it can be to declutter your makeup, why not give it a try? Share your own makeup decluttering journey in the comments below!
